Overview
This example demonstrates how to run Arklex User Simulator with a customer service agent for an insurance company use case. You can follow this example to evaluate your own agent. This example includes two agent options:- Option 1: OpenAI agent that directly uses the OpenAI API to interact with the user simulator
- Option 2: Customized in-house agent exposed through A2A Protocol or Chat Completions-compatible interface to interact with the user simulator
Data Preparation
This example already includes adata folder in this directory (./examples/bank-insurance/data). You can freely add, remove, or update knowledge files (.md, .pdf, .doc, etc.) in that folder to match your own use case.
Option 1: OpenAI Agent
Rename agent configuration file
Rename
agent_config_openai.json to agent_config.json. If agent_config.json already exists, first rename the original file to another name to avoid overwriting it.Configure runtime settings
Configure
config.yaml for this example (the default configuration is sufficient for this example).Option 2: In-house Agent
In the/examples/bank-insurance/agent_server folder, we provide a sample RAG-based agent implemented with LangGraph that can be exposed with A2A Protocol or through Chat Completions interface.
Choose and configure agent type
Choose an agent configuration and rename it to
agent_config.json (if agent_config.json already exists, rename or remove it first).- For A2A (recommended):
agent_config_a2a.json→agent_config.json - For Chat Completions:
agent_config_chat_completions.json→agent_config.json
The agent configs support environment variable substitution using
${ENV_VAR_NAME} syntax (for example, ${A2A_CLIENT_CREDENTIAL} or ${OPENAI_API_KEY}).Install agent dependencies
Create a virtual environment (Python 3.11 recommended) and install dependencies:
Start the agent server
Choose one of the following agent server options:
- A2A Agent Server
- Chat Completions Server
This exposes an A2A-compatible agent on port
9999.Note for Docker users: If you are running the simulator with Docker, you need to change part of the endpoint in the public agent card from 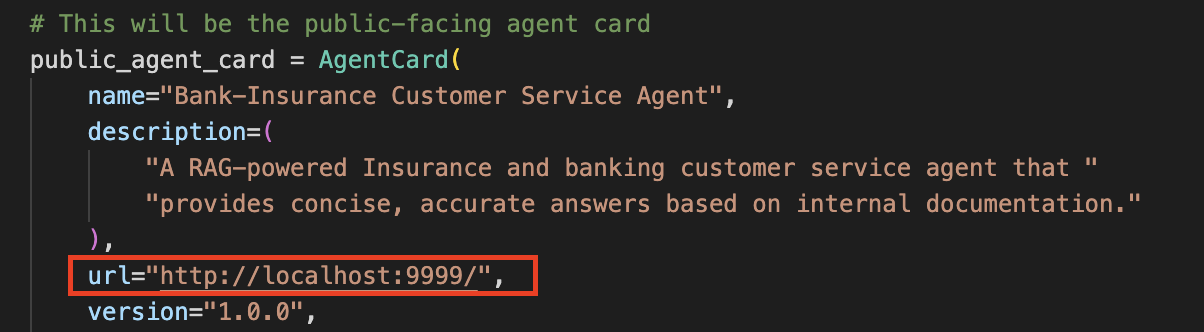
localhost to host.docker.internal in ./examples/bank-insurance/agent_server/a2a/server.py.